SKU: 94915614410
why is my juul not charging

why is my juul not charging My Juul Won't Charge Juul Battery Not Charging Juul Won't Charge Flashes Green: Quick Fix Guide Australia How To Reset

Sale price$23.80 Regular price$26.45
Save 10%

Pay in installments of $6.61 with ShopPay, AfterPay and Klarna

Shipping Estimate
USA
  • USA
  • CAN

Ships within 48 hours · Estimated delivery Jul 1 - Jul 6

Promo Codes Available:

For Your Every Summer RSVP, with Code: SUMMER15

Description

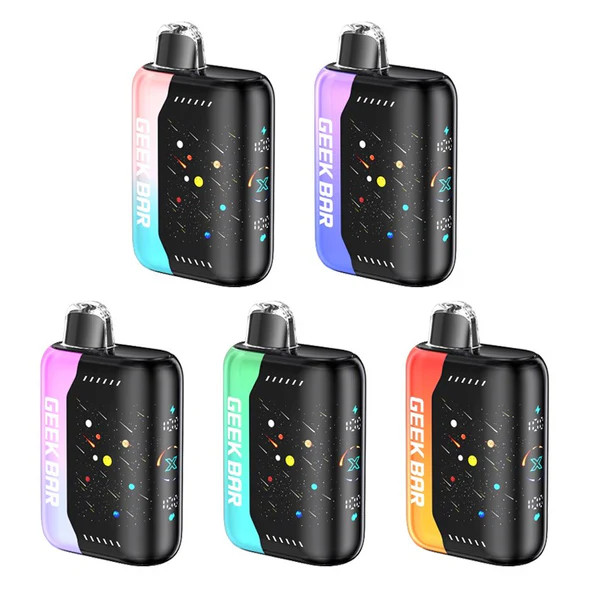
5 Pack] Geek Bar Pulse 15000 Disposable $74.99 how do i know if my juul is charging How Do I Know If My Juul Is Charging How Do You Know If Your Juul Is Charging All The Time My College Comes Wth Great Juul Chargng Ports : R juul How Fucking Fab Geek Bar Pulse Disposable Vape 15000 Puff Best Geek Bar Flavors Geek Bar Pulse Best Flavor (Top 10 & 2024 New Vape Flavors) Juul Charger With Iphone Charger Charging Juul Without Charger Brik Charging Cables For Juul Vaporizer Machine Vape Pen How To Make

why is my juul not charging My Juul Won't Charge Juul Battery Not Charging Juul Won't Charge Flashes  Green: Quick Fix Guide Australia How To Reset
Shipping Notes
  • Free Standard Shipping on $100+ Orders to the USA.
  • Except Preorder products are shipped in 48 hours.
  • Delivery to the USA:
  1. Standard Shipping : 3-10 business days
  • If time is of the essence, please consider selecting expedited delivery for faster service.
Exchange/Return Notes
  • We offer a 30-day return/exchange service after receiving.
  • Final sale items are not eligible for returns or exchanges.
  • To process your return/exchange, please contact us at [email protected]
  • Please click here for more details>>> Return & Exchange Policy
SKU: 94915614410

Discover Niche Categories That Outsell why is my juul not charging

Top-Converting Item to Boost Your Average Order

4.4 ★★★★★
Based on 1083 reviews
Sort
Highest Rating
Newest First
Oldest First
Product Reviews
P
Verified Purchase
PaintBoy54
Grantham, US
★★★★★ 4
Great value!
Good quality, lower price than the brands.
WAS THIS REVIEW HELPFUL?YesReportShare
Reviewed in the United States on May 15, 2025
J
Verified Purchase
Jenndom
New York, US
★★★★★ 5
As described!
Good quality, price and easy to install.
WAS THIS REVIEW HELPFUL?YesReportShare
Reviewed in the United States on July 8, 2025
A
Verified Purchase
Amazon Customer
Omaha, US
★★★★★ 5
Quality filter
Great filter, as good as OEM without the dealer cost.
WAS THIS REVIEW HELPFUL?YesReportShare
Reviewed in the United States on June 21, 2025
A
Verified Purchase
Amazon Customer
Omaha, US
★★★★★ 5
fit up
Worked and fit perfect !!
WAS THIS REVIEW HELPFUL?YesReportShare
Reviewed in the United States on March 15, 2025
Z
Verified Purchase
Zombie
Dallas, US
★★★★★ 5
Perfect fit. Pls read. Tricky cover removal and cover reinstall..
Perfect fit for 2024 CRV Hybrid Touring. But read if you are DIYing. Its easy but not so easy. Saw a couple of DIY YT videos. Removing the cover is a b*t*h. Use 6mm socket instead of a screw driver. Using socket is very important and a safe bet. The screws are deep and will need several turns to fully unscrew. A magnetic socket is recommended. Don't lose the screw and the 2 washers along with it. Removing the cover is tricky but not hard. Remember, no force is needed anytime during. It slides off of the rubber gasket when you lift a bit and pull it to the right. Once released you need to get it up, out and over that narrow space (the tricky part) to reach the filter. Replace the filter correctly as it has orientation. Putting the cover back is even trickier because the gap is narrower than the cover. Use your brain not force like a puzzle. Once back into the very narrow gap it slides back on the rubber ring/gasket effortlessly. Just double check the alignment before screwing. Absolutely hand turn the screws a good few turns to make sure you are NOT cross threading them before powering (avoid) it. ONLY HAND TIGHTEN SNUG. NO TORQUE NEEDED. I don't like the placement of this engine air filter chamber. Its far back and in a very tight space. Since this is going to be a frequently changed part it should have been more conveniently placed. Not happy with Honda design on this.
WAS THIS REVIEW HELPFUL?YesReportShare
Reviewed in the United States on November 28, 2025

recommand products